What Hynr demonstrated for those of us who attended his session was how to create a GSAK filter based on a specific polygon, which you can create in Google Earth and then import into GSAK. This can come in very handy if you only want to load waypoints within an exact area into your GPSr for an upcoming geocaching trip.
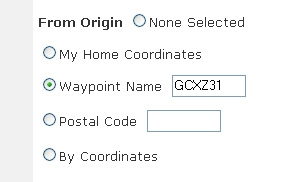
For example, let's say you plan to meet a group of friends for a day of caching on Mt. Diablo, and you only need to load all the caches that exist within the State Park's boundaries into your GPSr. First, run a pocket query that captures, at minimum, all the caches in the park and beyond. You can do this by picking a cache in the Park as your waypoint origin. SF View (GCXZ31) would be a good choice:
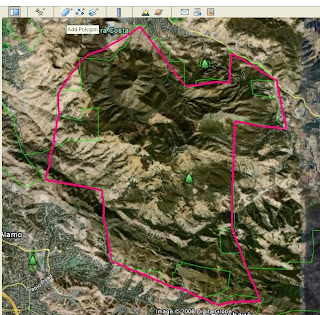
 When the pocket query arrives, load it into GSAK. Next, use the "Add Polygon" tool in Google Earth to draw a polygon around Mt. Diablo by using the park boundary lines as a guide:
Now, save your newly created polygon as a .KML file to your hard drive. You will use this to create your filter in GSAK. Open your GSAK database, then select "Search" and "Set Filter." Click on the "Arc/Poly" tab and select the "Polygon" Filter Type. Now click on the "Select File" button and choose the Mt. Diablo polygon .KML file you just saved from Google Earth. GSAK will now automatically populate the Arc/Polygon points screen with the park boundary segment latitude and longitude coordinates from your Google Earth polygon file:
 Now just save the filter and then click the Go button, and you're done. You will now have a list of just the geocaches located within the boundaries of your defined polygon ready to load onto your GPS. What's real nice is that you can create similar filters for other areas that you visit often. And, once you've created these filters, as long you save them, you can re-use them over and over for future trips to the same area.
Give it a try. I think you'll find this to be a handy little time saver.
1 comment:
Thanks for the excellent description. I too took some notes but your blog is by far much better than my notes!
Post a Comment